Introduction
Krungthai Developers offers Application Programming Interfaces (APIs) that enable you to improve your business efficiency by utilizing Krungthai's Open Banking services.
This guide will lead you and your developers through the steps of integrating, testing, and deploying a new Krungthai Developers project. There are several APIs accessible for your application. Let's get start.
Step 1 Sign Up
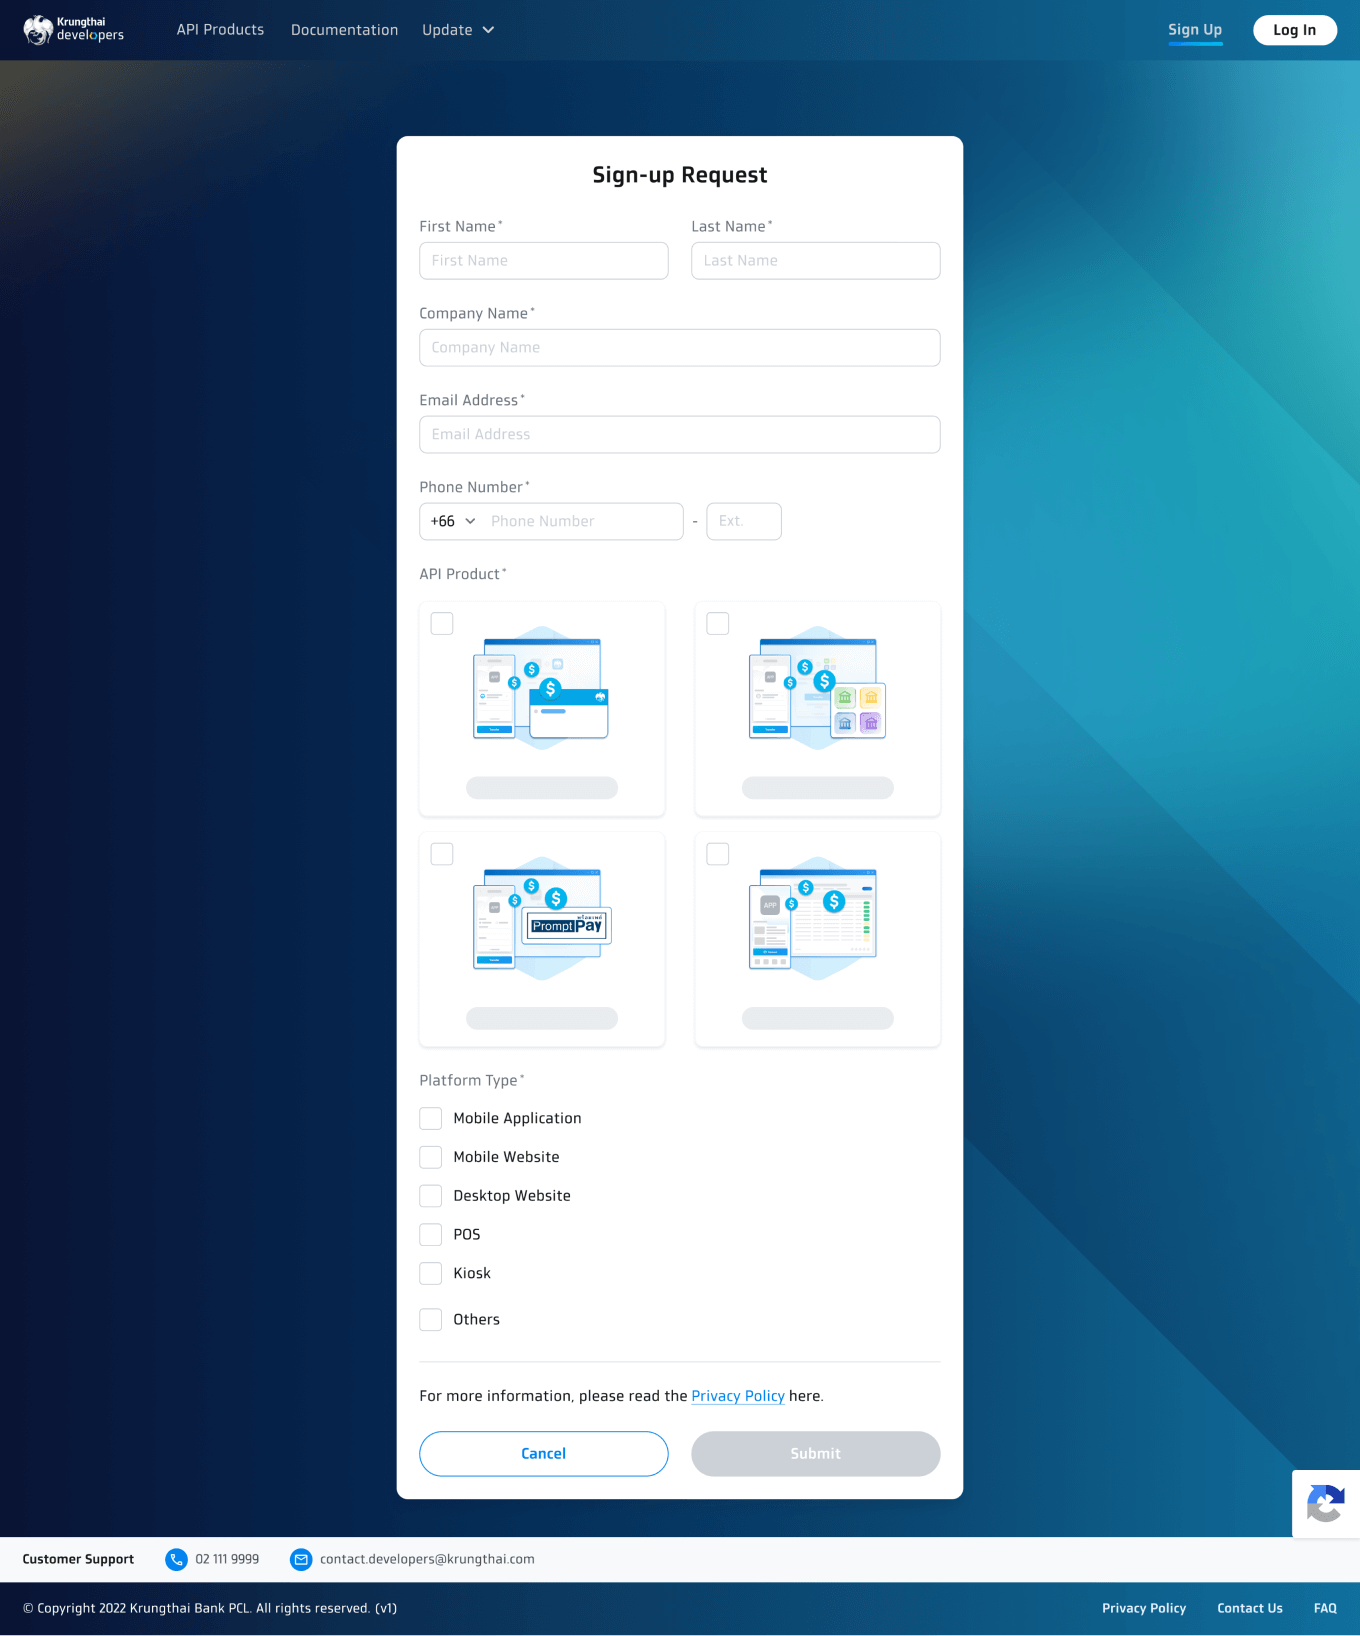
Interested in being our partner? Please contact us and submit a registration request here.
1. Click the 'Sign Up' button and fill in the required information. Then, our sales representative will contact you within a few business days. Krungthai Developers may require you to provide documentation and any related information, confirm your subscription and package price, and sign a contract in person.
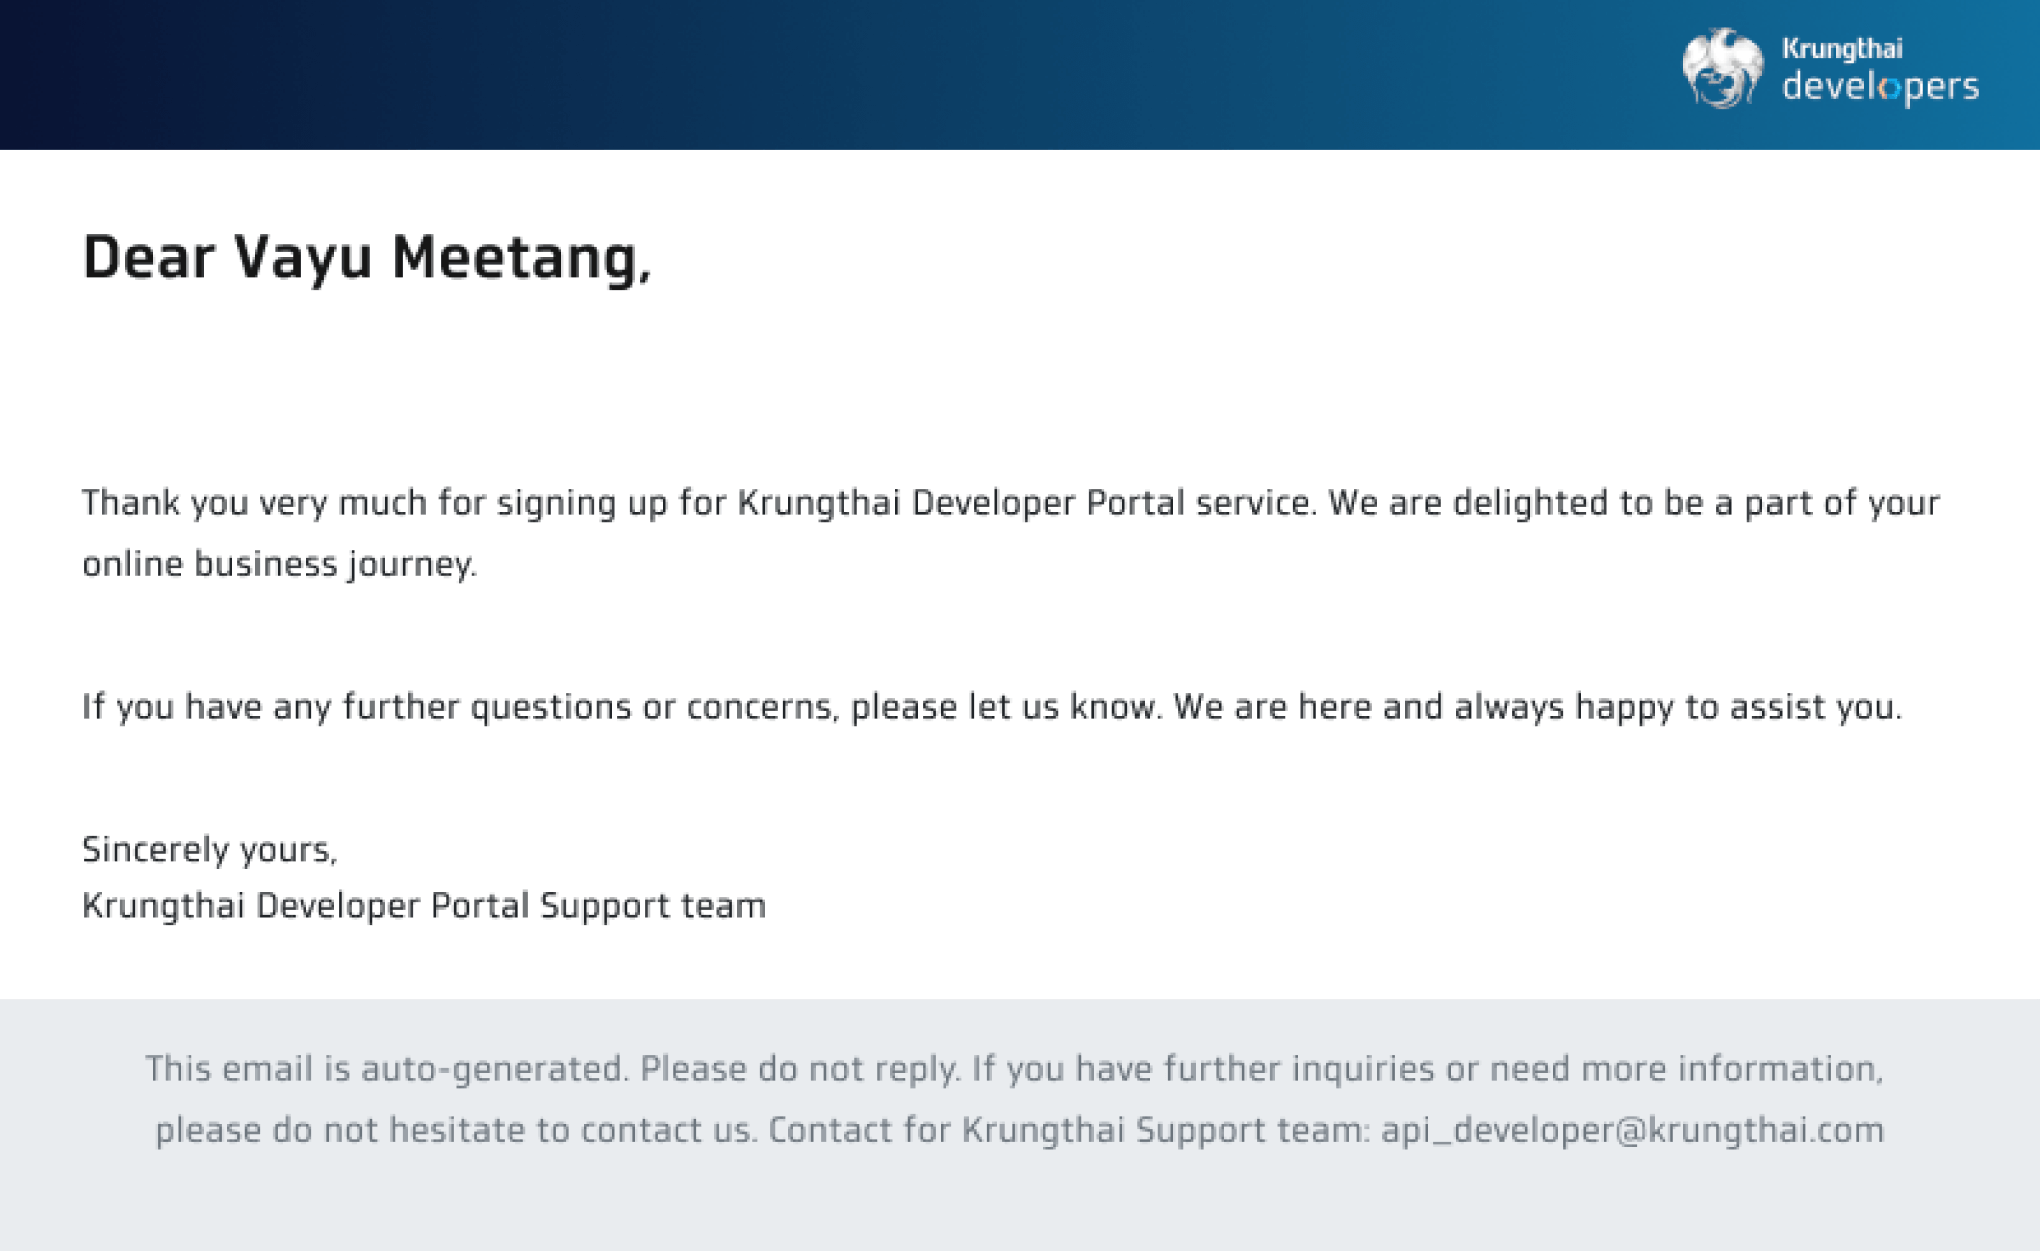
2. Once you have completed the registration with our sales representative, we will send an invitation email with an activation link. You can click the activation link to complete online registration's final step. The link is valid for only 7 days before expiring. If the link has expired, please contact us through the 'Contact Us' menu at the footer of the screen.
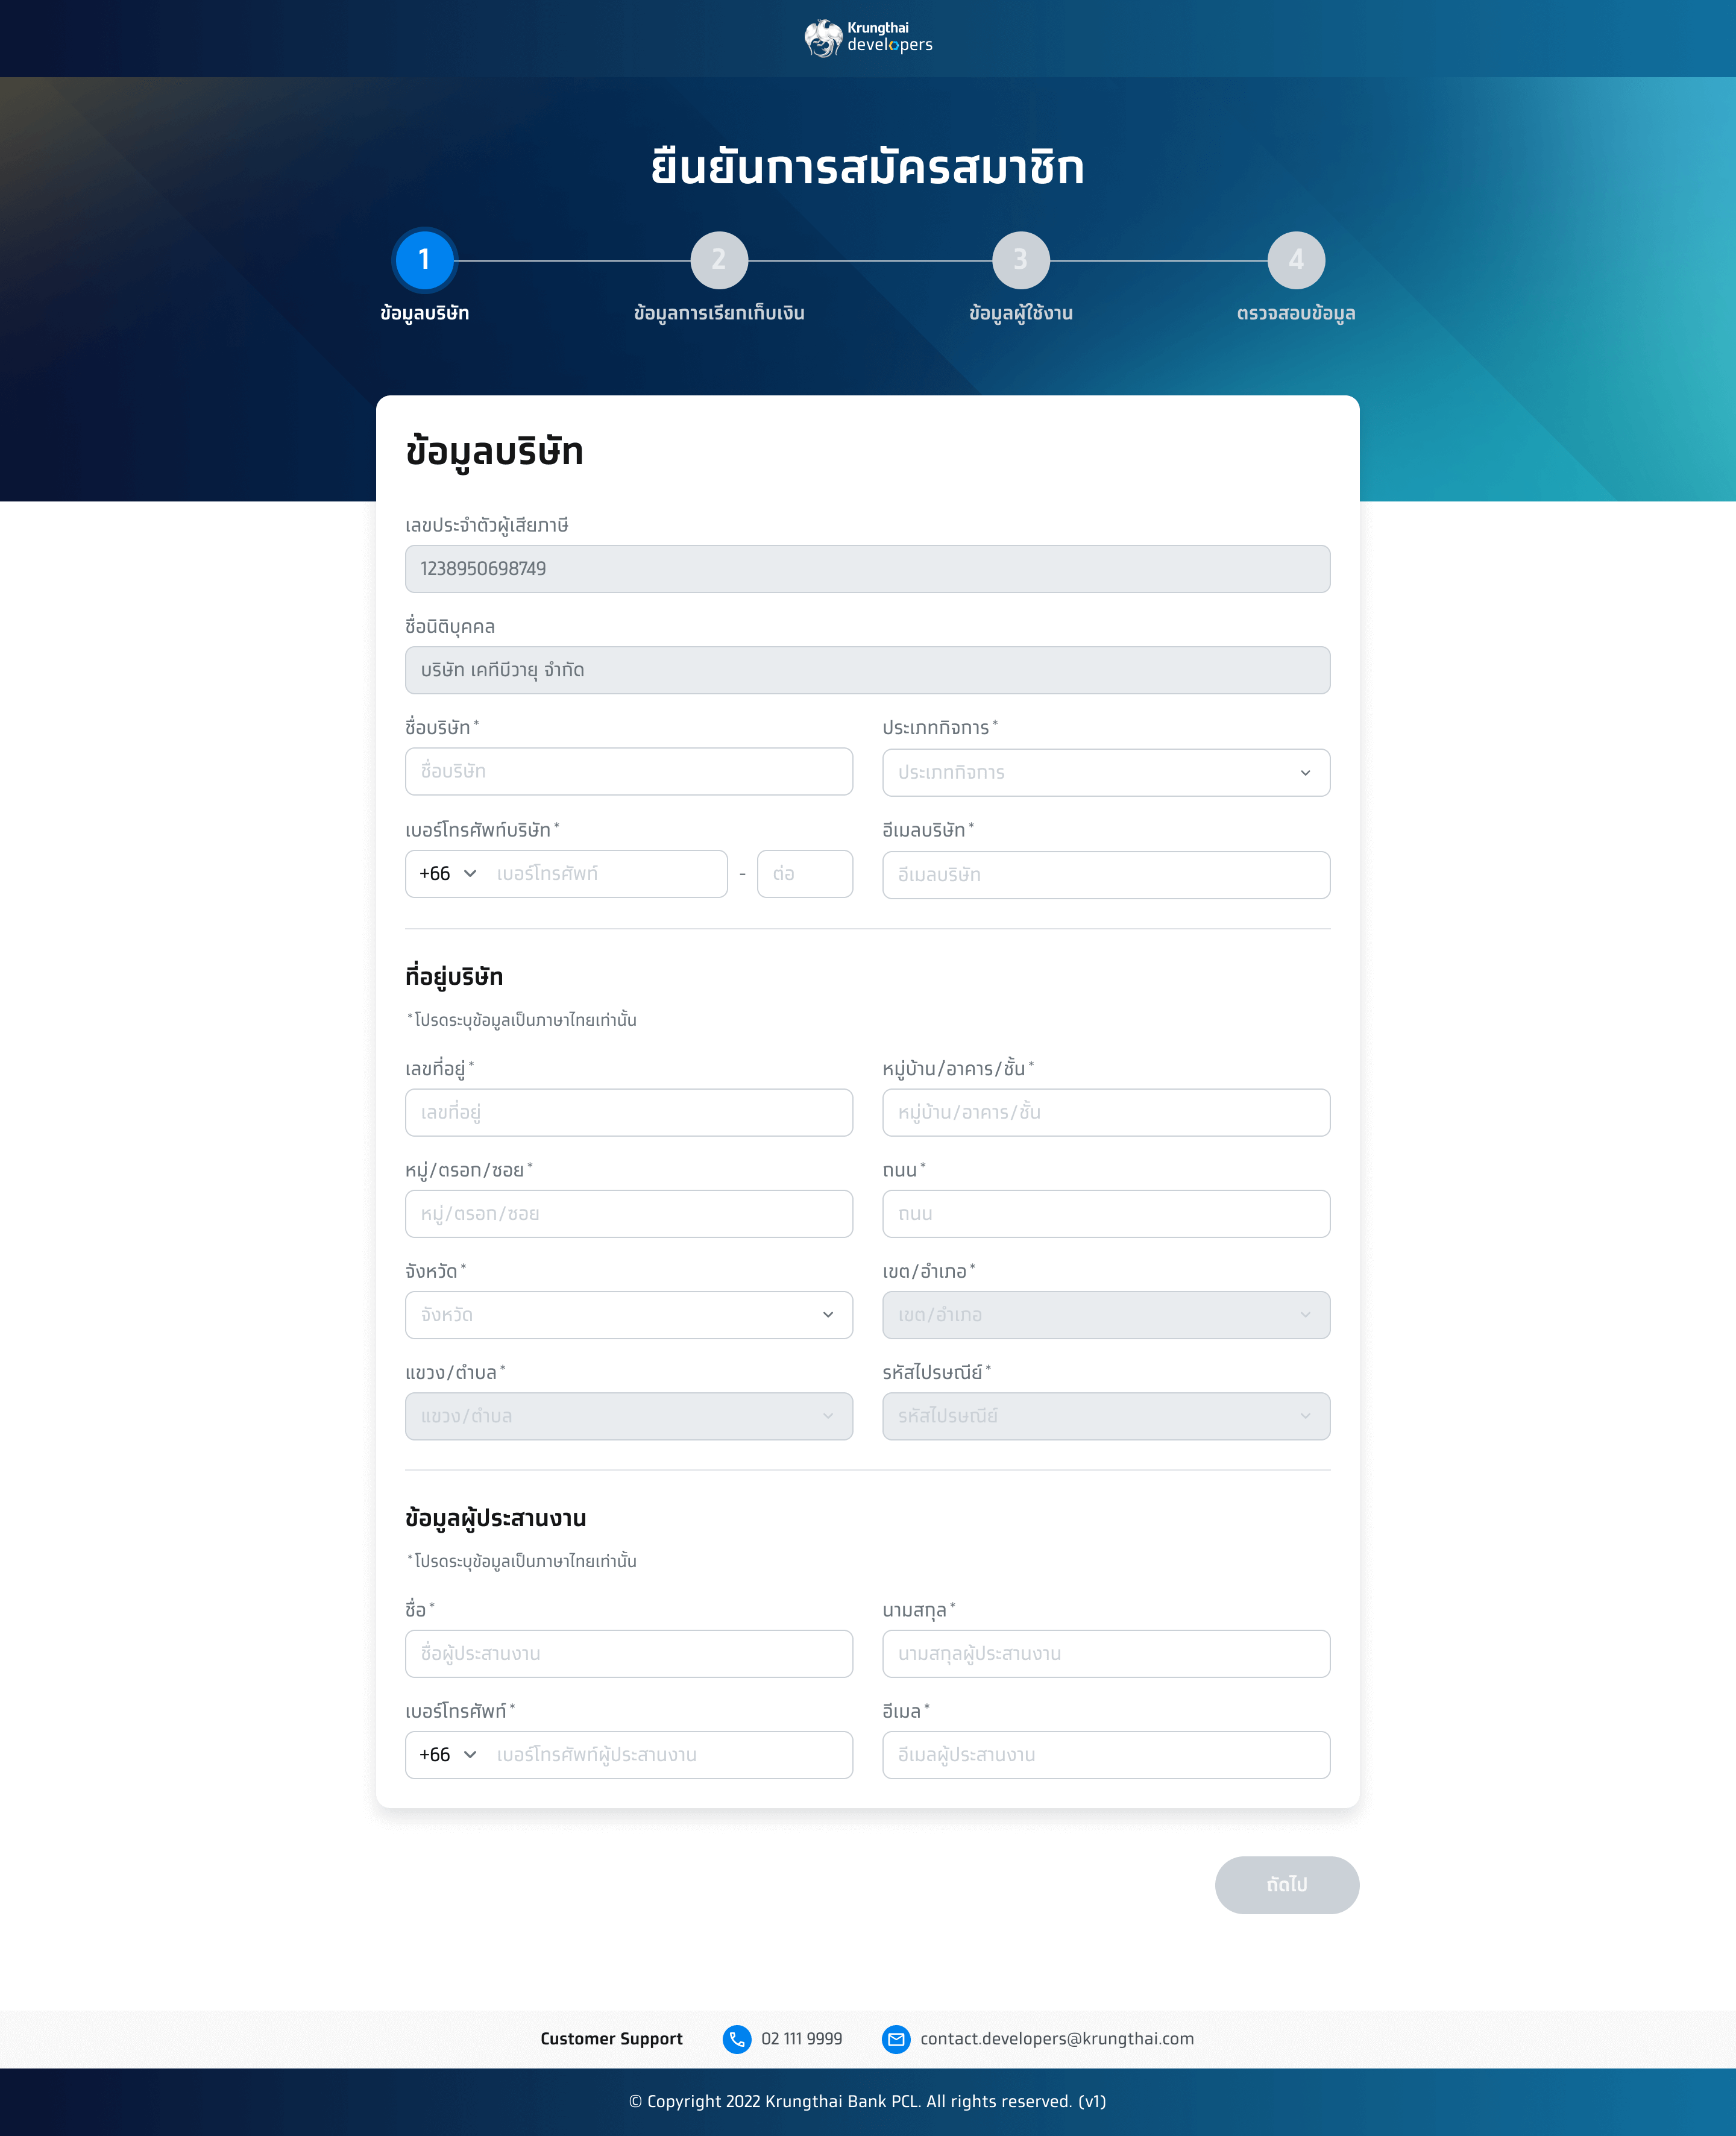
3. Fill in your information and create a strong and unique password.
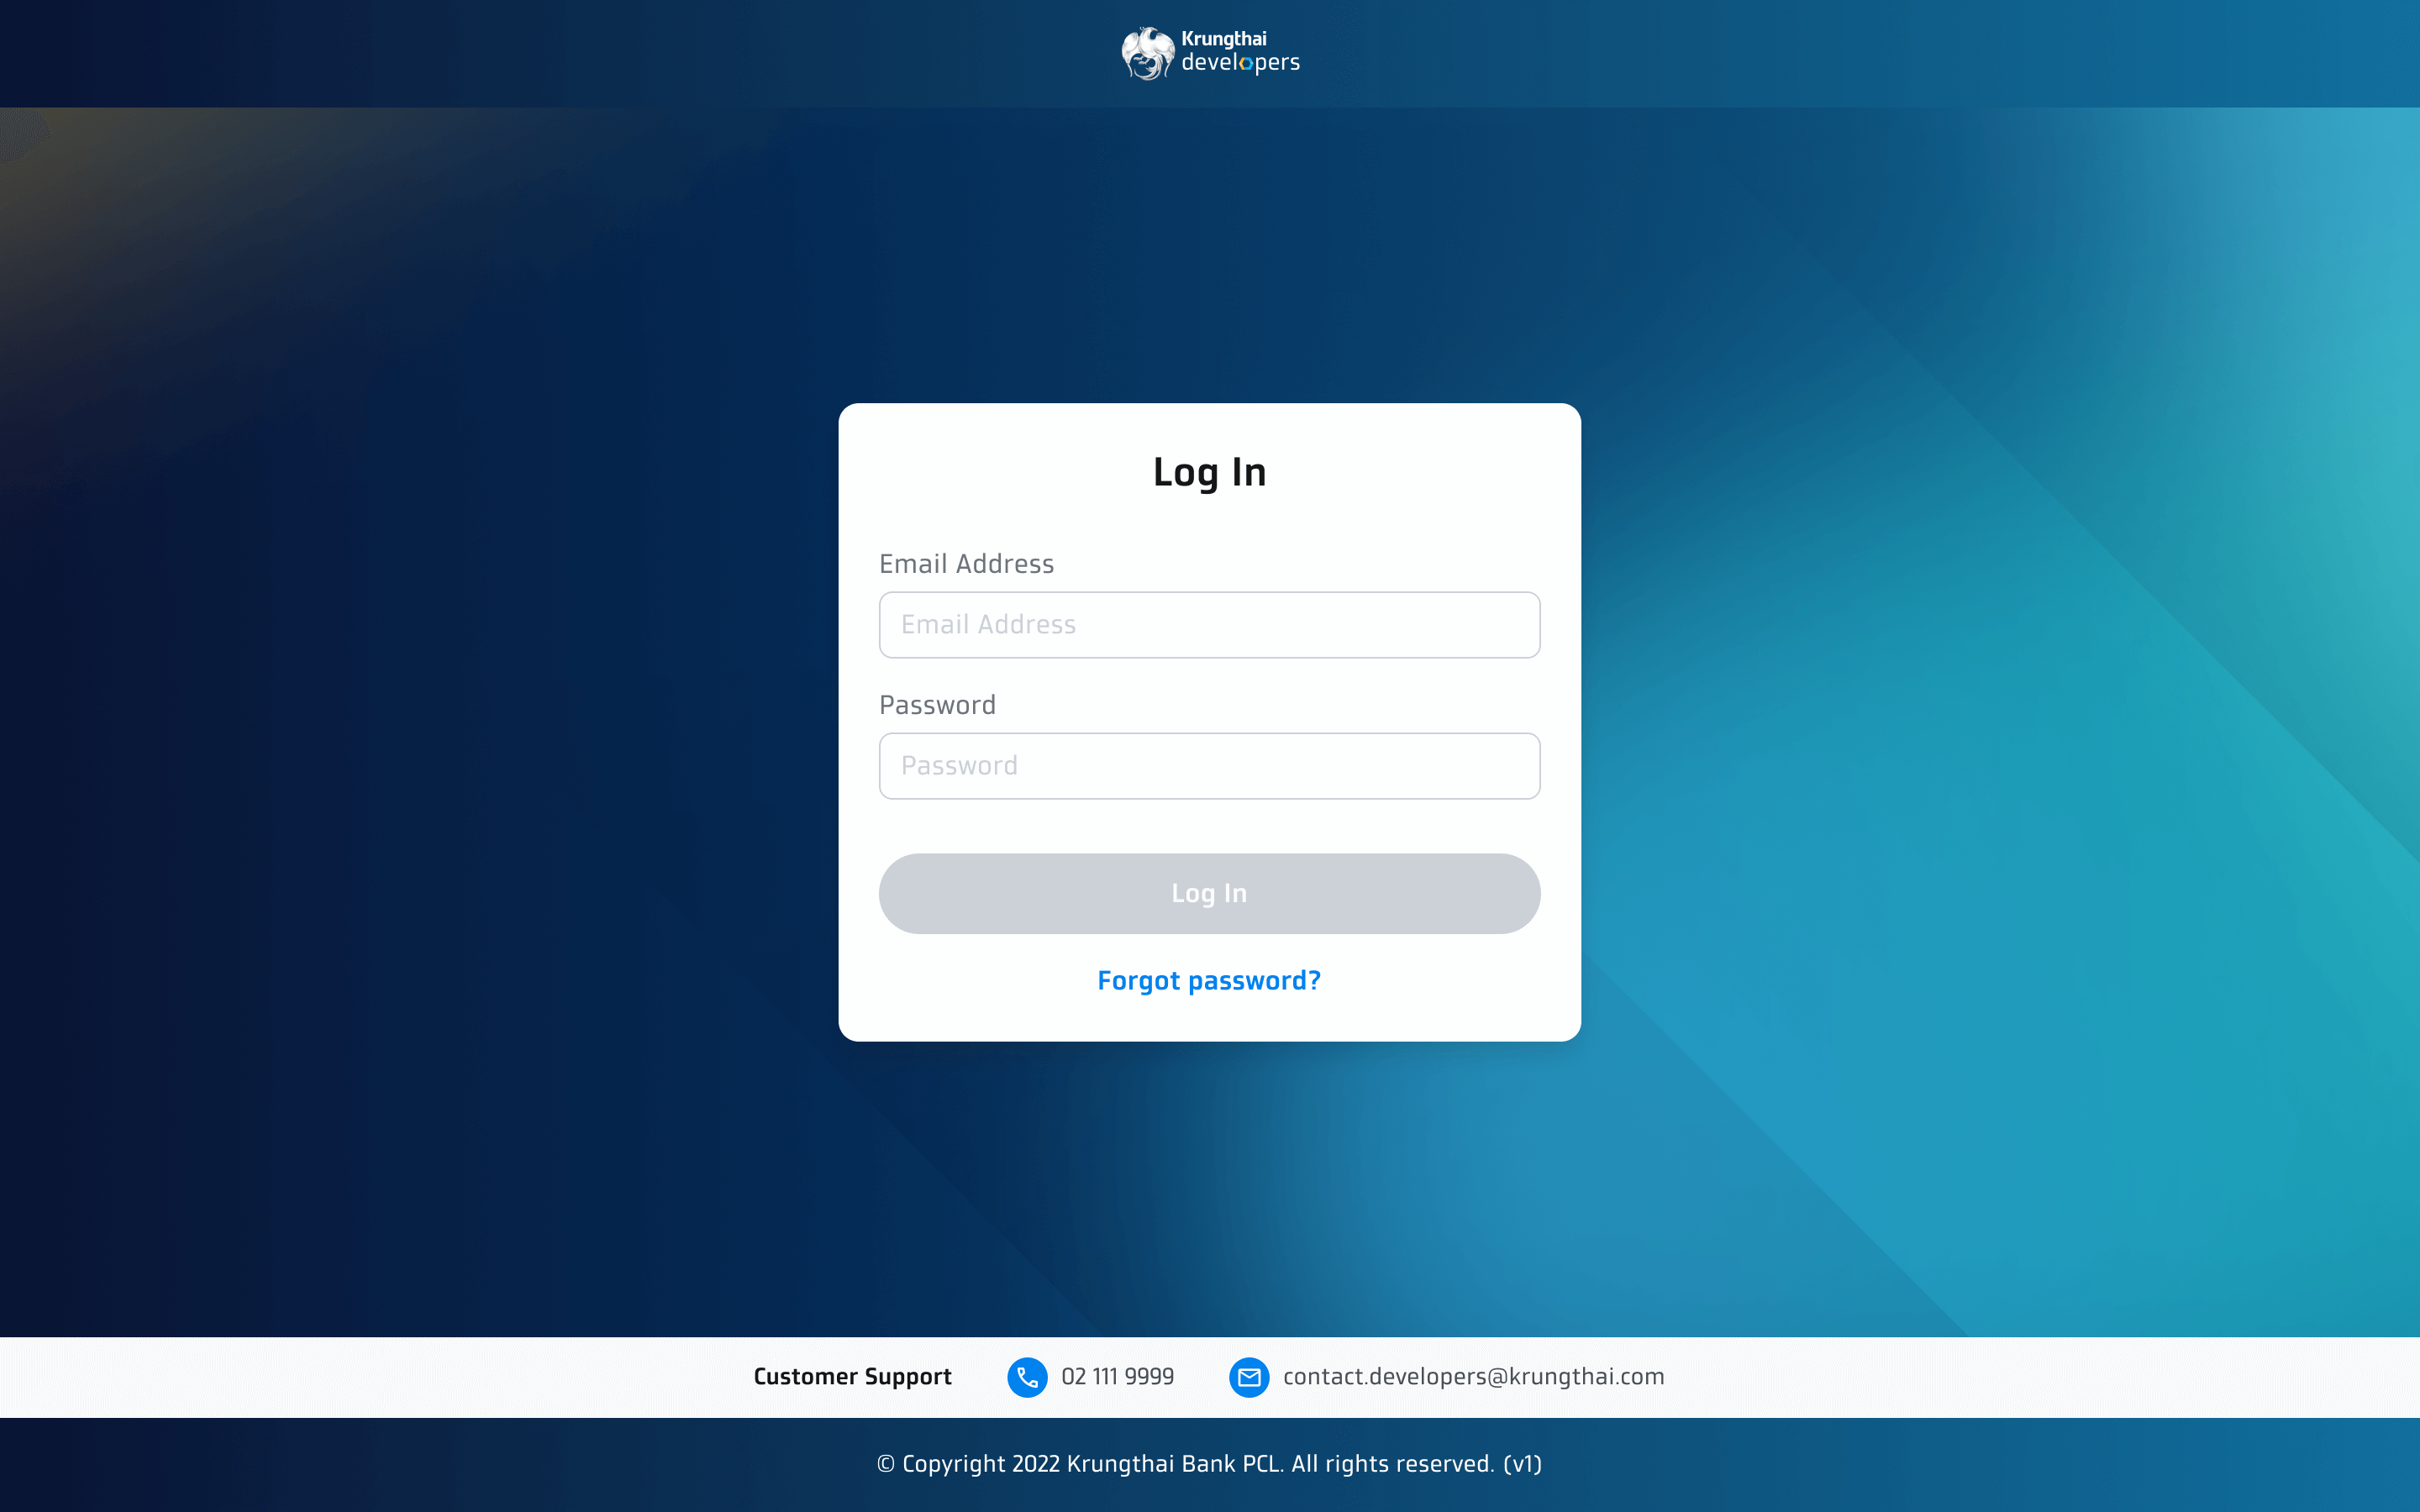
4. Once completed, you will be navigated to the log-in page. And you can log in to start using our APIs.
Step 2 Create Your Application
Prior to selecting the API you want to integrate, choose the API product and provide the project's name and description. If you have any questions, please refer the Production Documentation for API-specific documentation.
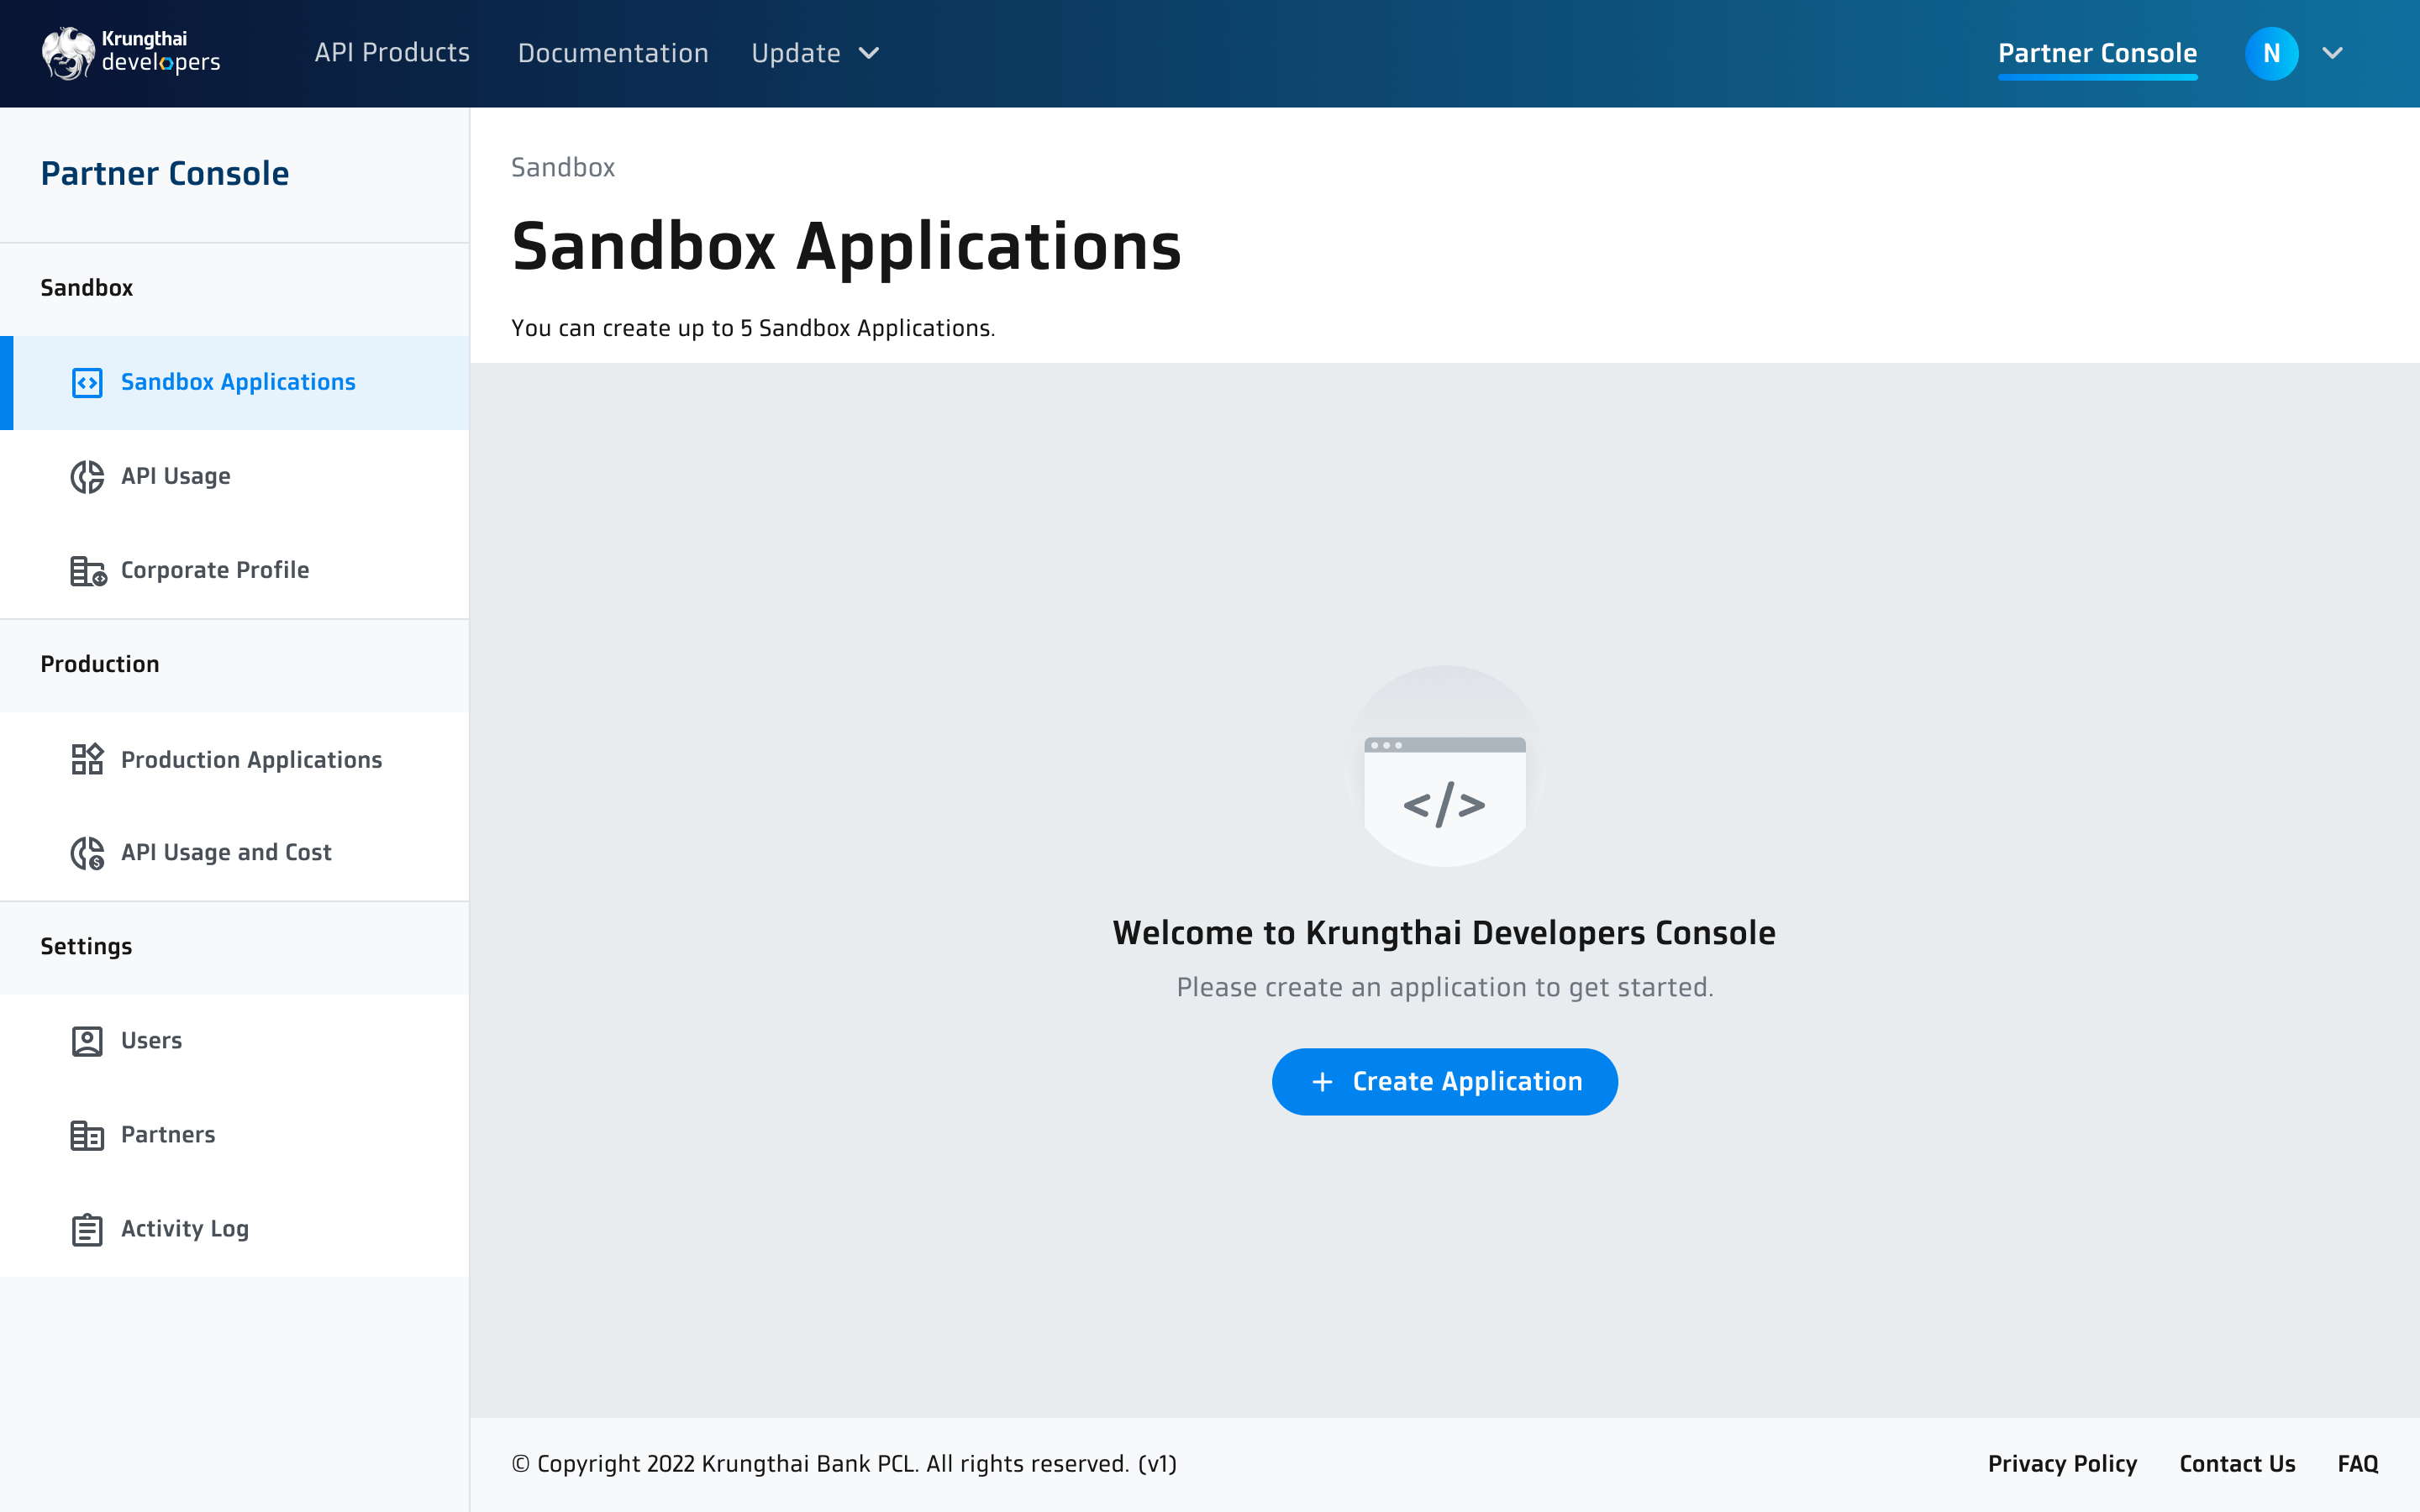
1. Click the 'Sandbox Applications' tab, then click the 'Create Application' button
2. Fill in the necessary information
- Fill your information in 'Application Details'.
- In 'Product', select an API for your application. If your application connects to more than one API, click '+ Add Product' to add more API to your application. You can add or change the API later.
- Configure API properties to match your application journey. You can change the configuration later.
- Create a whitelist of data set which will be used for application test in Sandbox Application.
- Enter the IP addresses that you will use to access the following API products:
Fund Transfer- Fund Transfer to Krungthai Account- Fund Transfer to Other Bank Account- Fund Transfer to PromptpayDirect Debit- Direct Debit Registration- Direct Debit
- Once these steps are complete, click the 'Create' button to finish the application creation process.
- Your new application will appear on the Sandbox Applications page.

3. When both an application and a corporate profile are successfully added, you will receive an API key that provides access to the Sandbox APIs
To generate API key:
- On the Sandbox Application page, select your new application to display the application details.
- There will be 3-legged credential pane. Click the 'Generate Key' button. The confirmation dialog will pop up. Click the 'Confirm' button to generate API key.
- Copy the API key to a safe place since afterwards you cannot access the key on any pages.
- Click the 'Close' button to complete the process.
- You can now use the generated API key to integrate your application with Krungthai API product(s).

Step 3 Experiment Your Application
Our Product Documentation illustrates the proper HTTPS request format, and includes your access token and the required API details. Please use the response in your application, and you're all set.
- Integrate our APIs into your application. Learn more about the API details here.
- To connect your application with Krungthai Sandbox system, follow these steps.
- 2.1. First, create a sandbox application on the console.
- 2.2. Then, link it to your test system.
- Your application should now be connected to Krungthai Sandbox system and ready to be tested.
- Once testing is complete, integrate our APIs into your application through the production environment, and update the callback URL on your production application. Then, submit the production application request.
- After your submission is approved, the application will not go live immediately. You can release the application anytime by clicking 'Publish' button.